

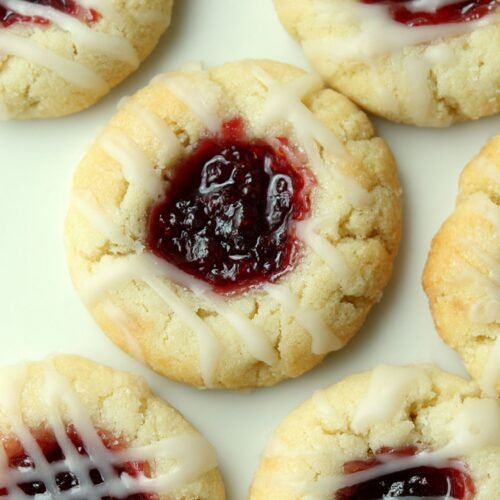
We all need a little sweetness tucked into our afternoons, and homemade cookies like these raspberry thumbprint gems are my go-to. They’re buttery, soft in the middle, and slightly crisp at the edges—everything a cookie dreams of being. The kind that disappears when you swear you were only going to have one. We’ve all been there. This recipe isn’t just about baking, it’s about creating little pockets of joy filled with raspberry jam. Growing up, I used to press my thumb into each dough ball with the same serious focus you’d expect from a pastry chef sculpting chocolate roses. Now? It’s more of a giggle-filled event with the kids, messy fingers and all. That sticky jam center, paired with a buttery almond base, makes every bite sing a little summer tune. So, whether you’re filling a holiday cookie tray or just sneaking a late-night bite with a cup of tea, these are bound to make the moment sweeter. This one’s for fans of Italian almond cookies and anyone on the hunt for My Recipes worthy of sharing. Trust me, once you try them, they’ll earn a spot in your Incredible Recipes collection right next to your other favorite recipes for cookies.
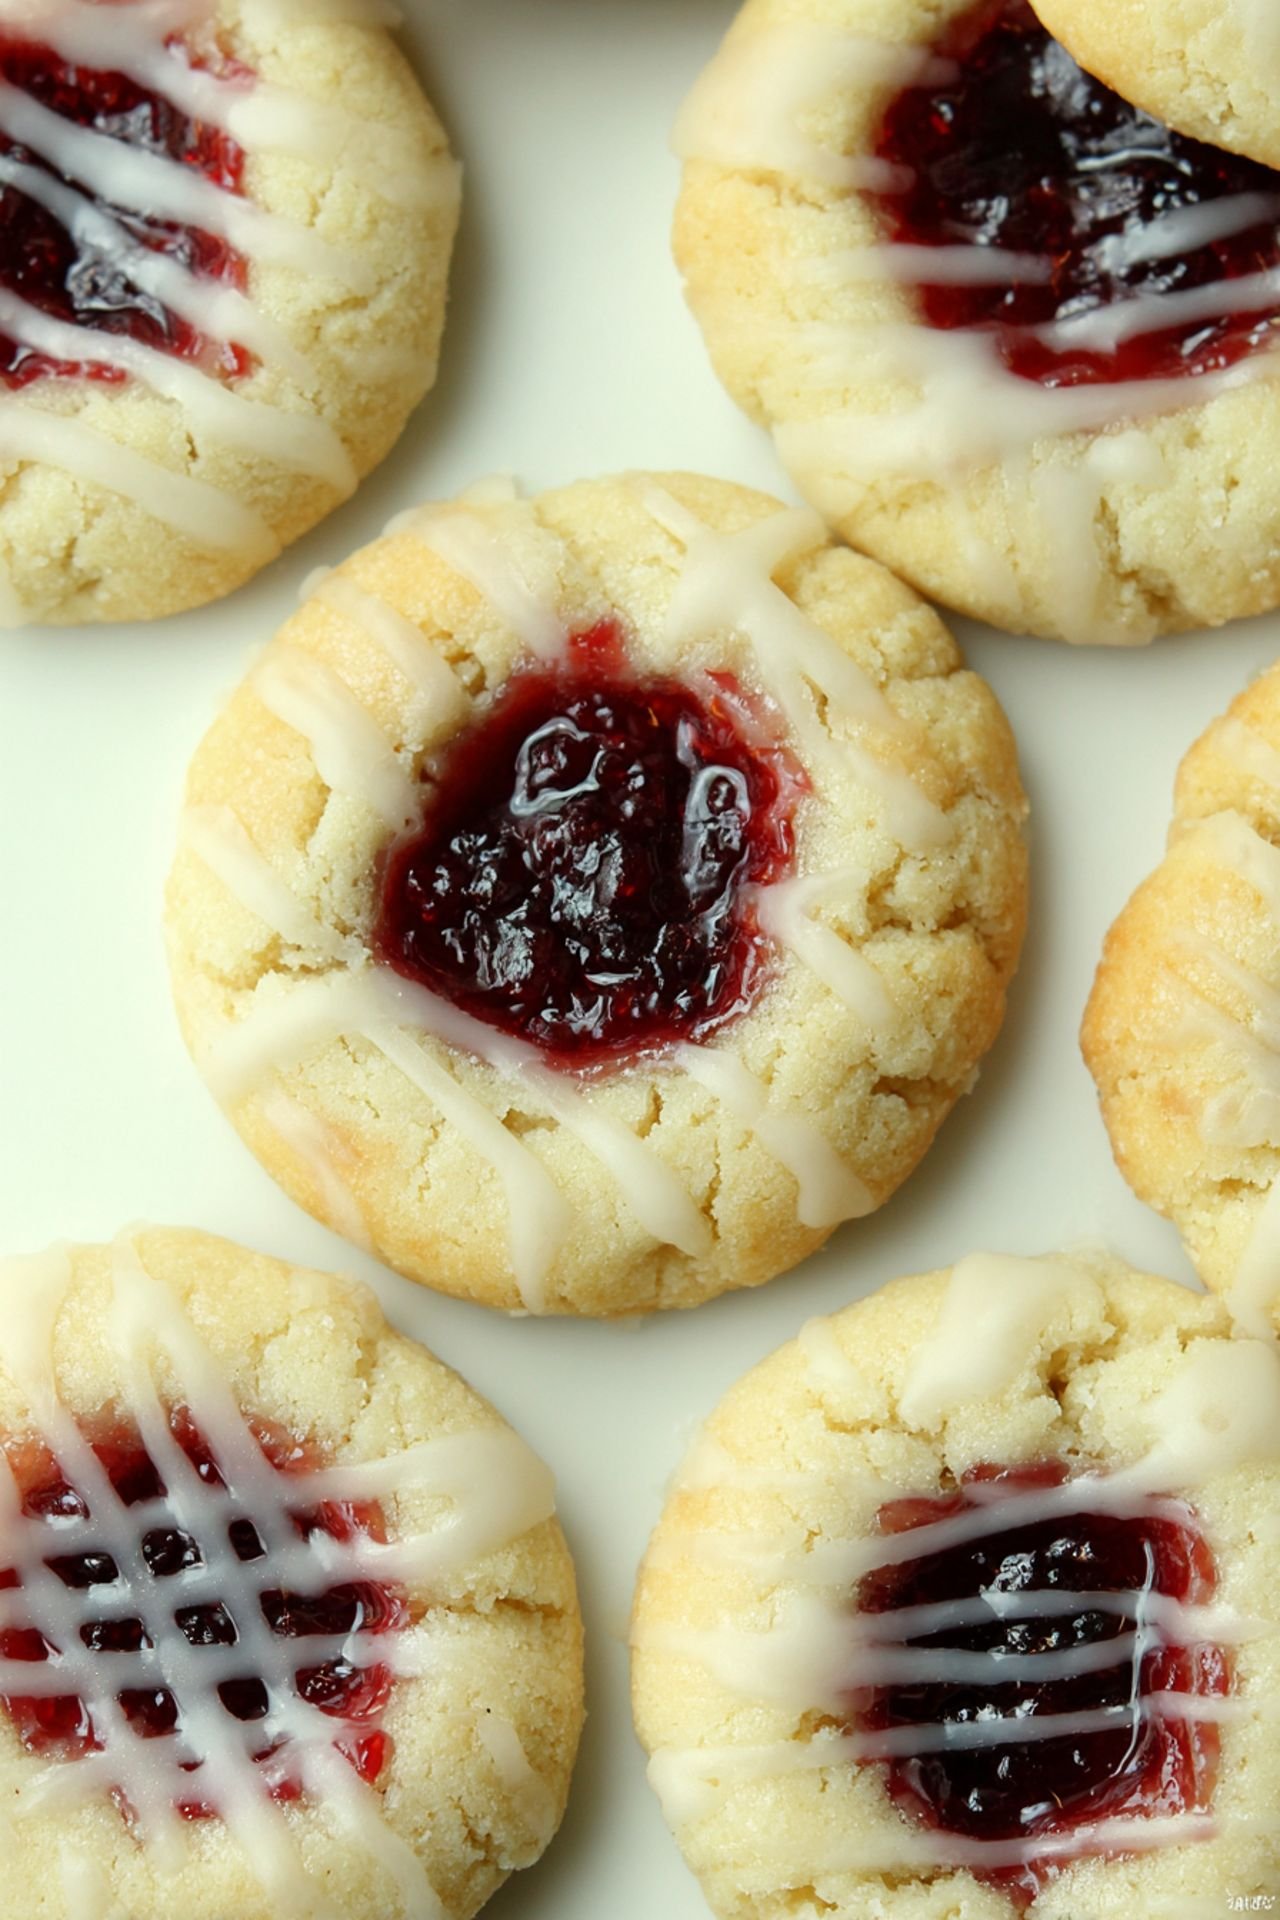
Table of Contents
- 1) Key Takeaways
- 2) Easy Raspberry Thumbprint Cookies Recipe
- 3) Ingredients for Raspberry Thumbprint Cookies
- 4) How to Make Raspberry Thumbprint Cookies
- 5) Tips for Making Raspberry Thumbprint Cookies
- 6) Making Raspberry Thumbprint Cookies Ahead of Time
- 7) Storing Leftover Raspberry Thumbprint Cookies
- 8) Try these Dessert Recipes next!
- 9) Raspberry Thumbprint Cookies
- 10) Nutrition
1) Key Takeaways
- Short, sweet ingredient list—just six items you likely already have.
- Perfect chewy center with crispy edges for that bakery-style bite.
- Works great with raspberry, apricot, or strawberry jam—flexibility in flavor.
- Makes about two dozen cookies and doubles easily for holiday trays.
2) Easy Raspberry Thumbprint Cookies Recipe
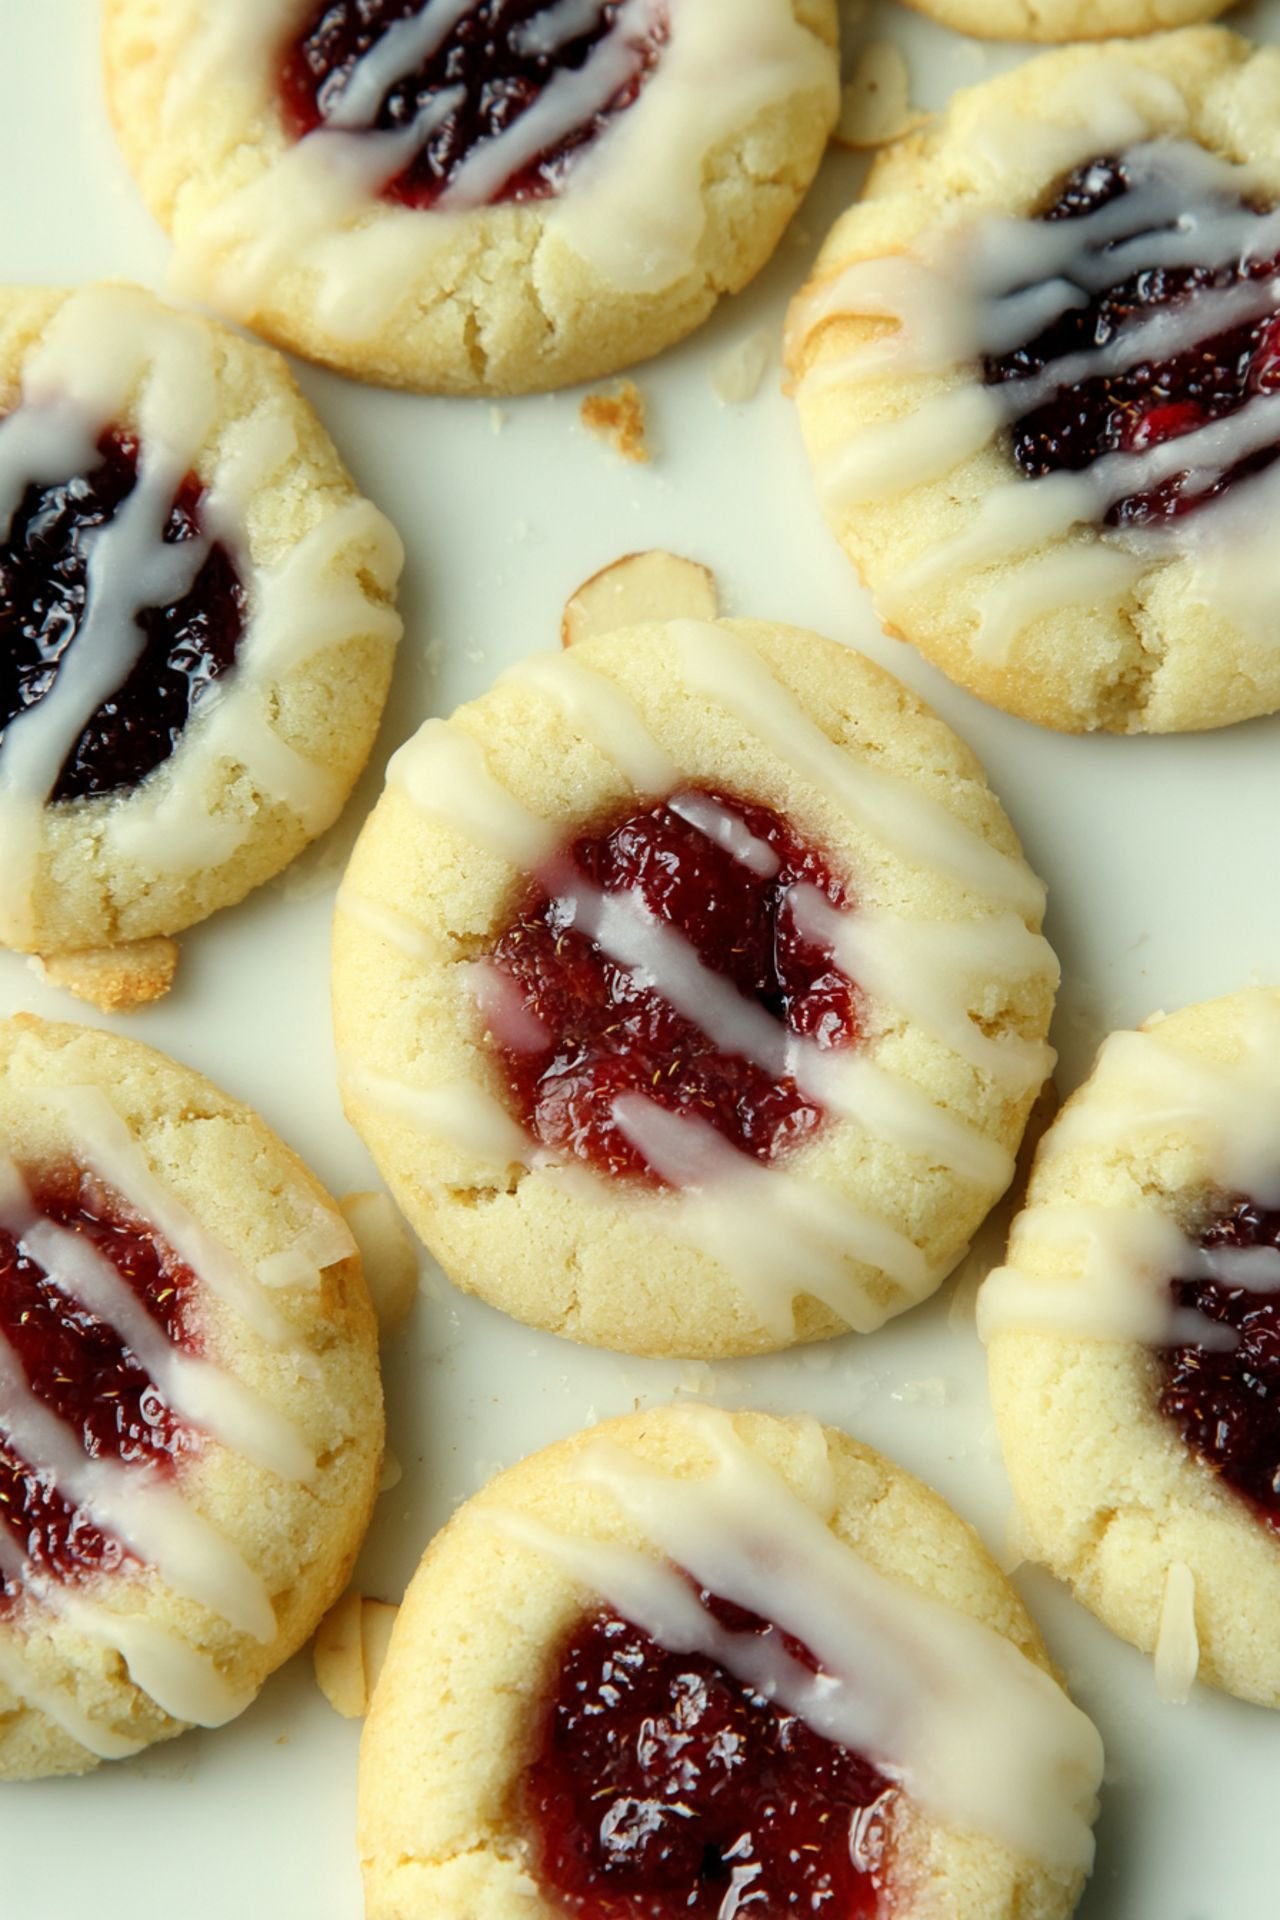
If there’s one homemade cookie recipe I keep coming back to, it’s this one. These thumbprint cookies are my kind of simple. I can whip them up between afternoon chores or when the kids start snooping around the kitchen hoping for something sweet.
I call them “the forget-the-fancy-stand-mixer” cookies. They don’t ask for much—just a bit of butter, flour, sugar, and that one jar of raspberry jam you forgot was in the fridge door. And yet, they bake into these soft little buttons of happiness that feel like a warm hug.
Whether you grew up pinching dough with your thumb or this is your first rodeo with jam-filled cookies, you’ll get it right. Homemade cookies should feel approachable. That’s the idea here at Healthy Living Mindset. I’m Marsha, and this one might be your new favorite. These are simple enough for Tuesday but sweet enough for a cookie exchange. Grab that jam and let’s roll.
3) Ingredients for Raspberry Thumbprint Cookies
1 cup unsalted butter, softened
This brings all the richness to the dough. Let it sit out for a bit so it creams smoothly with the sugar. Cold butter won’t blend well and the texture will suffer.
2/3 cup granulated sugar
This is just enough to sweeten without overpowering the jam. The sugar crystals also help the cookie edges get a slight crunch.
1/2 teaspoon almond extract
Almond adds that subtle depth. It lifts the cookie from basic to something more memorable, especially when paired with raspberry.
2 cups all-purpose flour
This gives the cookies their structure. No need for fancy flour here—just the pantry staple that keeps everything held together.
1/2 cup raspberry jam
Use the good stuff. A tart jam balances out the sweetness. And don’t skimp—a full well of jam makes these cookies what they are.
1/4 cup powdered sugar (optional)
This is for dusting after baking, if you want that bakery look. It adds a little extra sweetness, too, but isn’t required.
4) How to Make Raspberry Thumbprint Cookies
Step 1. Preheat the oven to 350°F and line your baking sheet with parchment paper. Skip greasing the pan. You want a dry surface so the cookies keep their shape.
Step 2. Cream the softened butter with the sugar until it looks light and fluffy. This takes a few minutes and is where the cookie gets its soft bite.
Step 3. Mix in the almond extract. Then add the flour gradually. Stir until everything pulls into a soft dough. If it feels sticky, pop it in the fridge for ten minutes.
Step 4. Roll dough into 1-inch balls and space them out on the baking sheet. You’ll get about two dozen from this batch.
Step 5. Press your thumb into each ball to form a little well. I’ve used the back of a teaspoon too when my nails were in the way—works great.
Step 6. Fill each well with about 1/2 teaspoon of raspberry jam. Don’t overfill or the jam will spill over when it bakes.
Step 7. Bake for 12 to 15 minutes. The edges should just start to turn golden. Let them sit for a few minutes, then move to a rack to finish cooling.
5) Tips for Making Raspberry Thumbprint Cookies
Don’t skip the almond extract. That tiny amount gives depth to these homemade cookies that you won’t get from vanilla. It balances the raspberry in a way that makes people reach for seconds.
Want a cleaner finish? Use a piping bag or sandwich bag to squeeze the jam into the thumbprints. It’s quicker and neater, especially if you’re baking with kids.
Let the cookies cool completely before moving them to a tin. They’re soft when hot and can fall apart if you rush. Patience pays off when that first bite holds together.
6) Making Raspberry Thumbprint Cookies Ahead of Time
I often make these in batches before holidays or when I need a homemade cookie fix ready to go. You can chill the dough for up to 3 days, covered well. Just let it sit for ten minutes on the counter before rolling.
Baked cookies freeze well. Once cooled, stack them in layers with parchment paper in a sealed container. They’ll keep in the freezer for a month. Just thaw on the counter and they’re good as new.
Need to prep ahead for a party? Form the dough balls, press the centers, then freeze. When you’re ready to bake, fill with jam and toss them straight in the oven from frozen—just add 2 extra minutes to the bake time.
7) Storing Leftover Raspberry Thumbprint Cookies
Once the cookies are cool, store them in an airtight container. I keep a piece of parchment between each layer to keep them from sticking together. They stay fresh at room temp for about 4 days.
For longer storage, pop them in the fridge. They’ll last a full week and still taste great. Let them come to room temperature before eating to bring out the butter and jam flavors again.
If they start to dry out a bit, you can microwave them for 5 seconds. It softens them up just enough to make them feel freshly baked. That little cheat’s saved many a last cookie in our house.
8) Try these Dessert Recipes next!

9) Raspberry Thumbprint Cookies
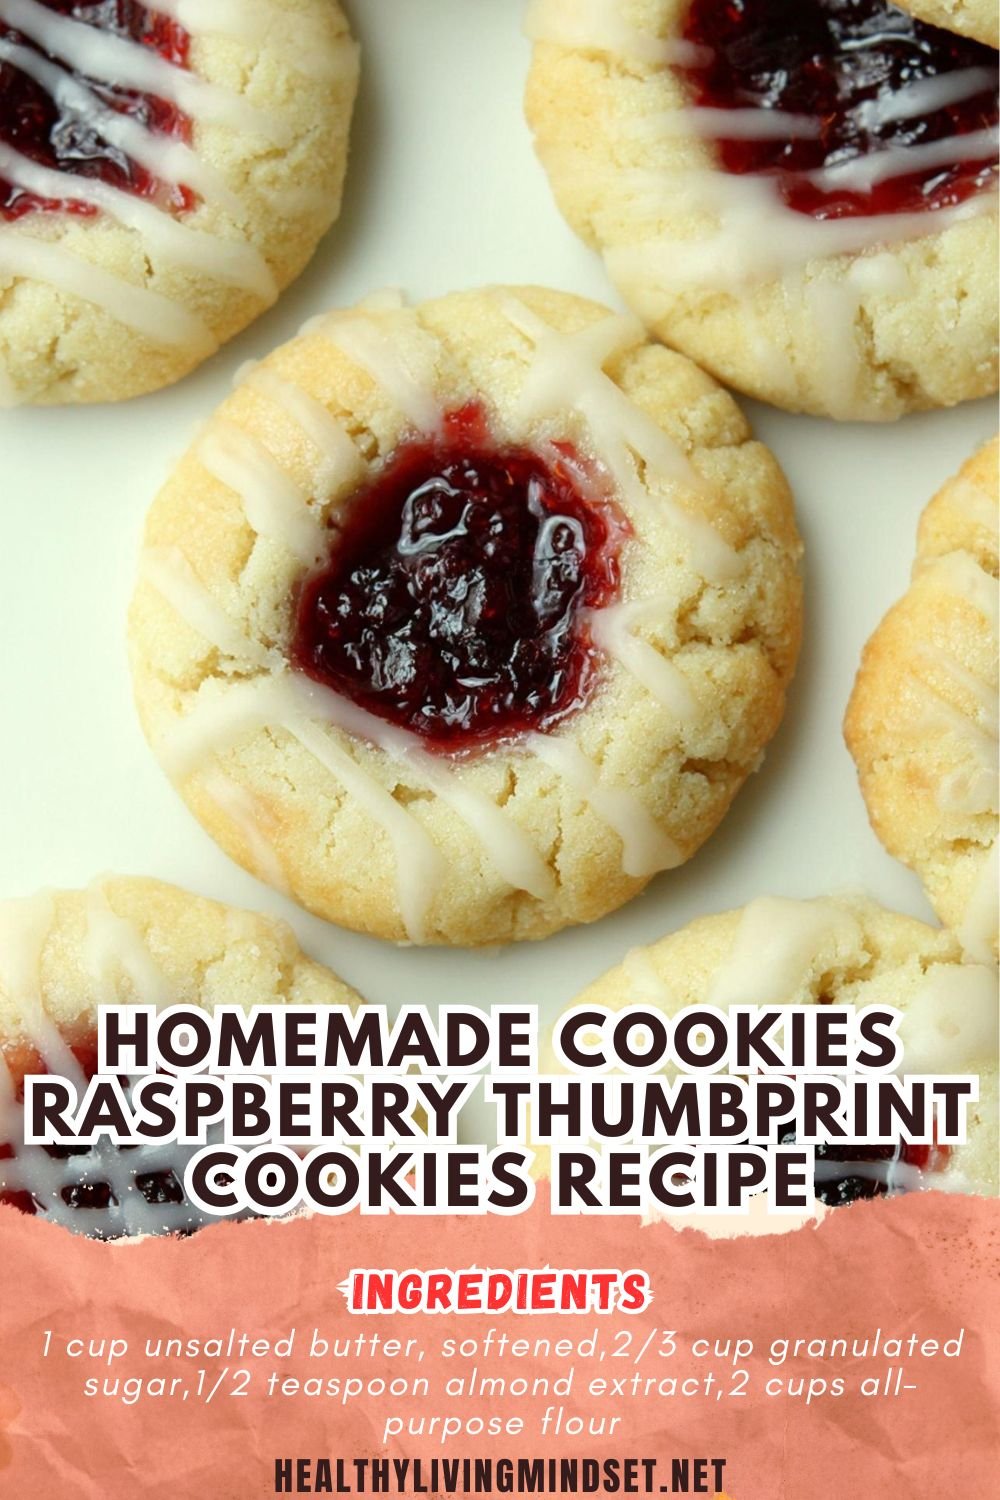
Homemade Cookies Raspberry Thumbprint Cookies Recipe
Ingredients
- 1 cup unsalted butter, softened
- 2/3 cup granulated sugar
- 1/2 teaspoon almond extract
- 2 cups all-purpose flour
- 1/2 cup raspberry jam
- 1/4 cup powdered sugar (optional, for dusting)
Instructions
- Preheat oven to 350°F (175°C) and line a baking sheet with parchment paper.
- In a large bowl, cream the butter and sugar together until light and fluffy.
- Mix in the almond extract.
- Gradually add the flour, mixing until the dough forms and pulls away from the sides of the bowl.
- Roll dough into 1-inch balls and place them 2 inches apart on the prepared baking sheet.
- Use your thumb or the back of a spoon to gently press a well into each ball.
- Fill each indentation with about 1/2 teaspoon of raspberry jam.
- Bake for 12–15 minutes, or until the edges are lightly golden.
- Cool on the baking sheet for a few minutes, then transfer to a wire rack to cool completely.
- Dust with powdered sugar if desired before serving.
10) Nutrition
Serving Size: 1 cookie Calories: 110 Sugar: 6g Sodium: 30mg Fat: 6g Saturated Fat: 3.5g Carbohydrates: 12g Fiber: 0g Protein: 1g Cholesterol: 15mg


Leave a Comment