

Homemade pies don’t have to be an all-day affair. These peach hand pies hit that sweet spot between quick treat and comfort food. They remind me of summers growing up, biting into warm pastries filled with syrupy peaches, sticky fingers and all. We used to grab napkins but let’s be honest—no one cared about the mess. Now, I make them with my own kids and we skip the napkins too. They’re that good. This is one of those recipes I come back to when I want something that looks fancy but takes no time. The crust bakes up golden, the filling bubbles through just a bit at the seams, and they taste like you worked way harder than you did. They’re handheld, which means no forks needed—unless you’re one of those people. And if you’re the type who camps, these also give strong Mountain Pies Campfire energy—just swap the oven for some foil and fire. Whether you’re new to My recipes or just craving something peachy, this one’s a keeper. Sweet enough to count as dessert, easy enough to throw together on a weeknight, and healthy peach recipes like this don’t come around every day. This might just be one of my most Incredible Recipes. Trust me on this one—it’s the kind of recipe peach dreams are made of.
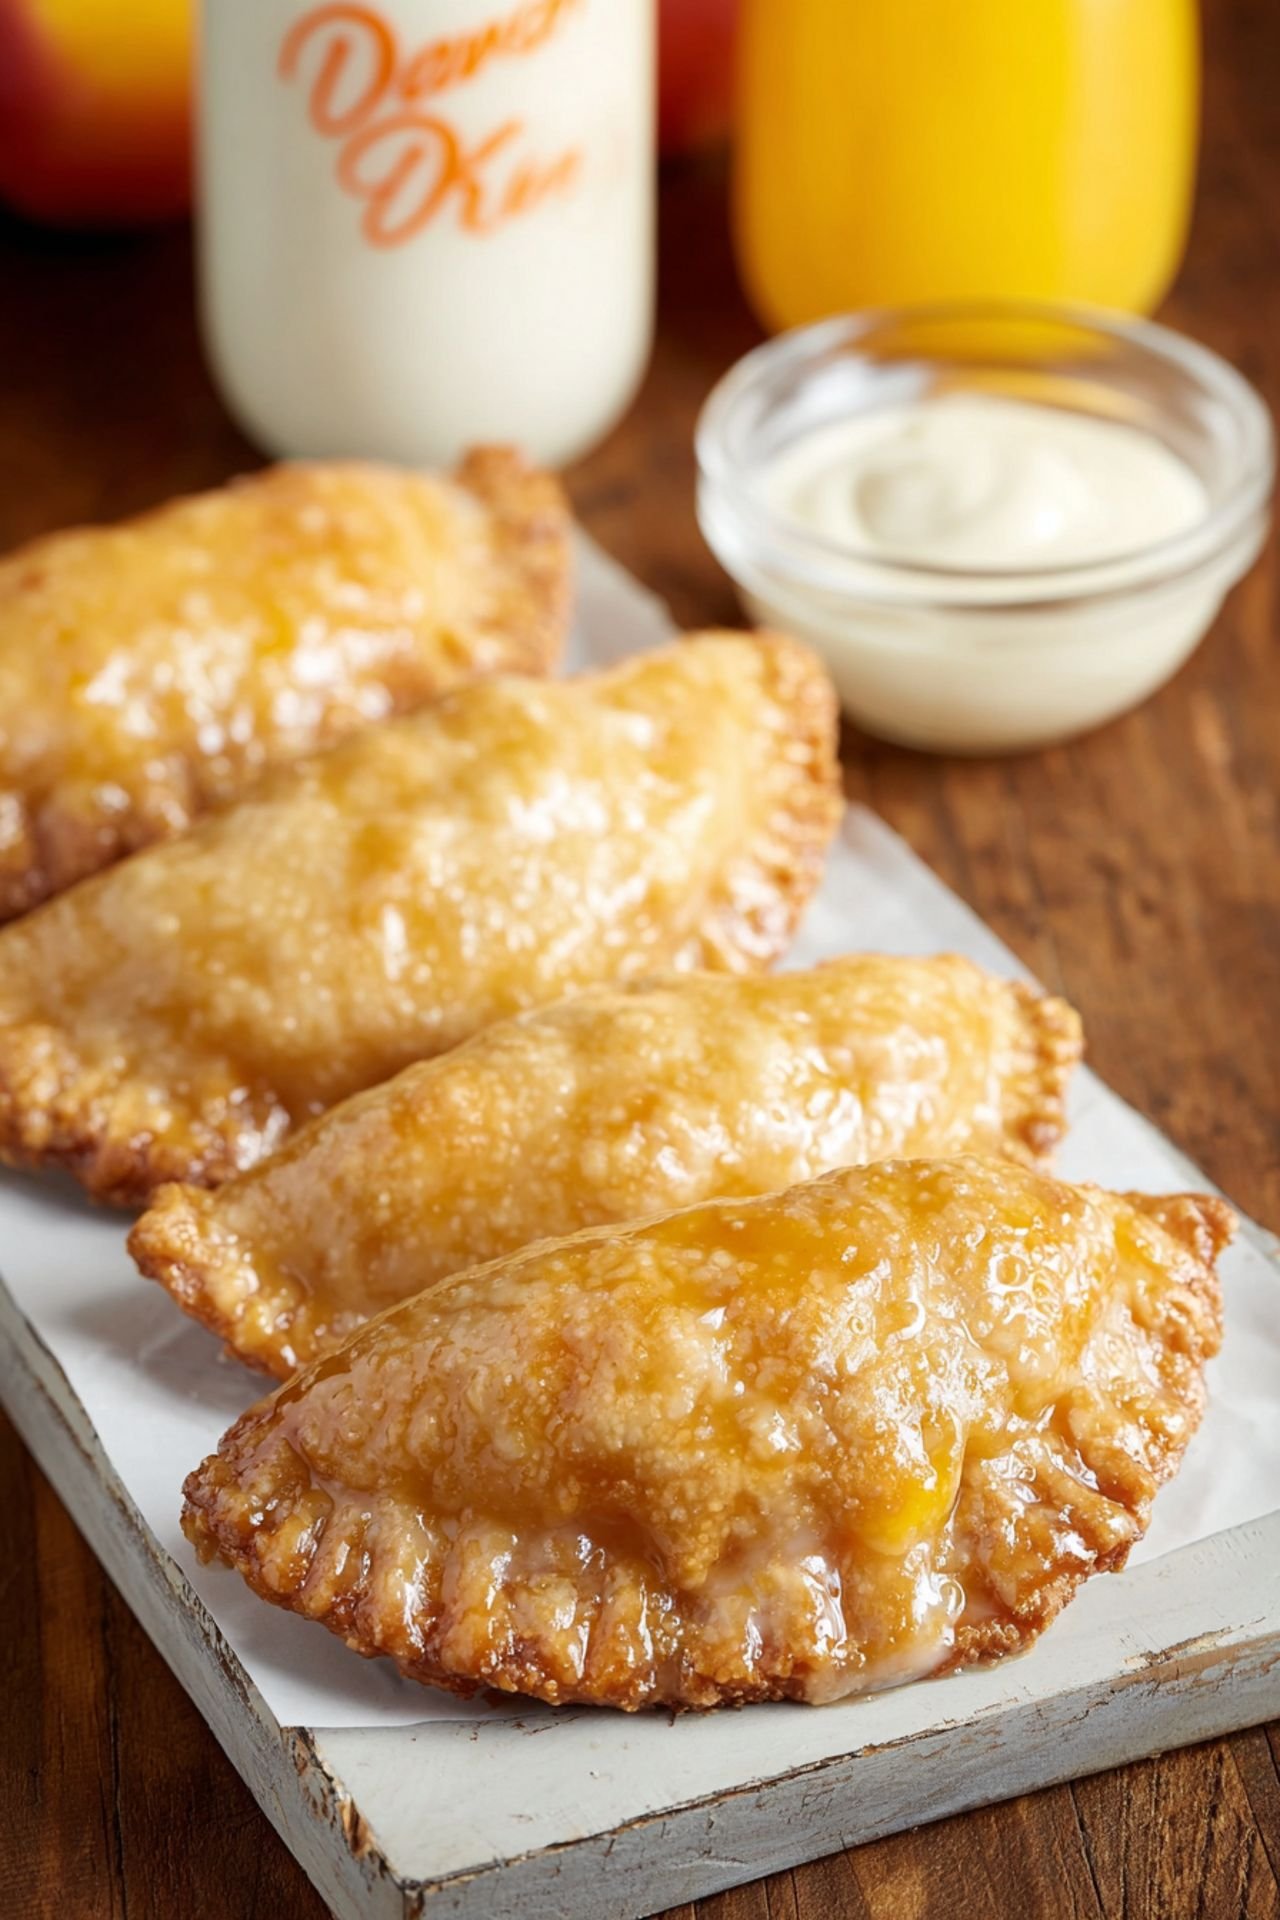
Table of Contents
- 1) Key Takeaways
- 2) Easy Peach Hand Pies Recipe
- 3) Ingredients for Peach Hand Pies
- 4) How to Make Peach Hand Pies
- 5) Tips for Making Peach Hand Pies
- 6) Making Peach Hand Pies Ahead of Time
- 7) Storing Leftover Peach Hand Pies
- 8) Try these Snacks next!
- 9) Peach Hand Pies
- 10) Nutrition
1) Key Takeaways
- Peach hand pies use a few simple ingredients and come together quickly.
- Great for weeknight desserts or special summer treats.
- Perfectly portable and ideal for camping trips or backyard gatherings.
- Homemade pies don’t have to be complicated to taste amazing.
2) Easy Peach Hand Pies Recipe
We all need a recipe we can lean on, one that doesn’t ask for much and gives back everything. That’s what these peach hand pies do. They’re my go-to when I want something homemade, sweet, and just enough to make the house smell like summer again. And the best part? You don’t need a rolling pin army or any special baking degrees.
I first made these when I had leftover pie crusts and half a can of peach pie filling staring at me from the fridge. I figured why not? Now they’ve become a staple in my kitchen. They feel fancy but they’re incredibly low-effort. I call that a win. You just need pie crusts, a can of filling, a fork, and a little bit of curiosity. They bake up golden, with bubbly edges and that perfect sweet tang that lets you know summer’s still hanging around.
This is the kind of recipe that reminds you that homemade pies can be quick, easy, and downright addictive. If you love healthy peach recipes or you’re on the hunt for Incredible Recipes that don’t feel fussy, this one checks all the boxes. From camping nights filled with Mountain Pies Campfire experiments to lazy Sundays filled with “let’s just bake something,” this one’s always in my recipe peach collection at Healthy Living Mindset.

3) Ingredients for Peach Hand Pies
Refrigerated Pie Crusts: I grab the classic two-pack from the store. These save time, and they still give you that flaky texture we all want in homemade pies.
Peach Pie Filling: A can works just fine here. I go for the thick kind that holds together when scooped. If you’ve got fresh peaches and time, by all means, make your own.
Egg: One egg, beaten. This is your golden ticket to that shiny crust. I brush it right over the top of each pie for that bakery finish.
Sugar: Just a sprinkle on top before baking gives the crust a little crunch and sparkle. It’s the easiest finishing touch that makes them look like they came from a café.
4) How to Make Peach Hand Pies
Step 1. Preheat the oven to 425°F and line a baking sheet with parchment paper. Trust me, parchment saves your cleanup later.
Step 2. Unroll the pie crusts on a clean surface. Use a glass or round cutter to make as many circles as you can, about 4 inches wide. It’s like crafting with food.
Step 3. Spoon a little filling—about a tablespoon—right in the center of each circle. Don’t overdo it, or they’ll burst in the oven. I’ve been there.
Step 4. Fold the dough over to make a half-moon shape. Press the edges with a fork to seal. You’re aiming for rustic, not perfect. They’ll still taste amazing.
Step 5. Brush each pie with the beaten egg. Then sprinkle a pinch of sugar on top. You’ll see it caramelize while they bake. It’s magic.
Step 6. Bake for 15 to 17 minutes until they’re golden brown and maybe just a little oozing at the edges.
Step 7. Let them cool for at least 5 minutes. The filling’s hot, and you’ll want to keep your tongue intact for that second bite.
5) Tips for Making Peach Hand Pies
If your pie crusts crack while cutting, don’t worry. Let them sit at room temp for a few minutes before you try again. They’re easier to handle when they’re not straight from the fridge.
I sometimes add a pinch of cinnamon or a splash of vanilla to the filling. It gives a little warmth and depth, especially in colder months. Totally optional, but definitely worth a try.
If you’ve got kids, let them help with the sealing part. It’s messy fun, and they’ll feel proud when they bite into something they made. That’s how I got my youngest to finally try peaches. Small wins.
6) Making Peach Hand Pies Ahead of Time
I’ve made these the night before and baked them the next day, and they turned out great. Just keep them covered in the fridge and don’t brush the egg wash until just before baking.
If you want to freeze them, that works too. Freeze unbaked pies on a tray, then store them in a bag once solid. When ready, pop them in the oven straight from the freezer, and just add a few extra minutes to the bake time.
It’s handy for those nights when a craving hits or when guests drop by and you want something that says “Yes, I totally had this planned.”
7) Storing Leftover Peach Hand Pies
These keep well in an airtight container on the counter for a couple of days. If it’s hot out, slide them into the fridge instead.
I warm them up in the toaster oven the next day, just for a couple minutes. They’re still crispy, still sweet, and still everything you want in homemade pies with none of the fuss.
If you somehow don’t eat them all on day one, they’re even better on day two with a scoop of ice cream. You didn’t hear that from me.
8) Try these Snacks next!
9) Peach Hand Pies

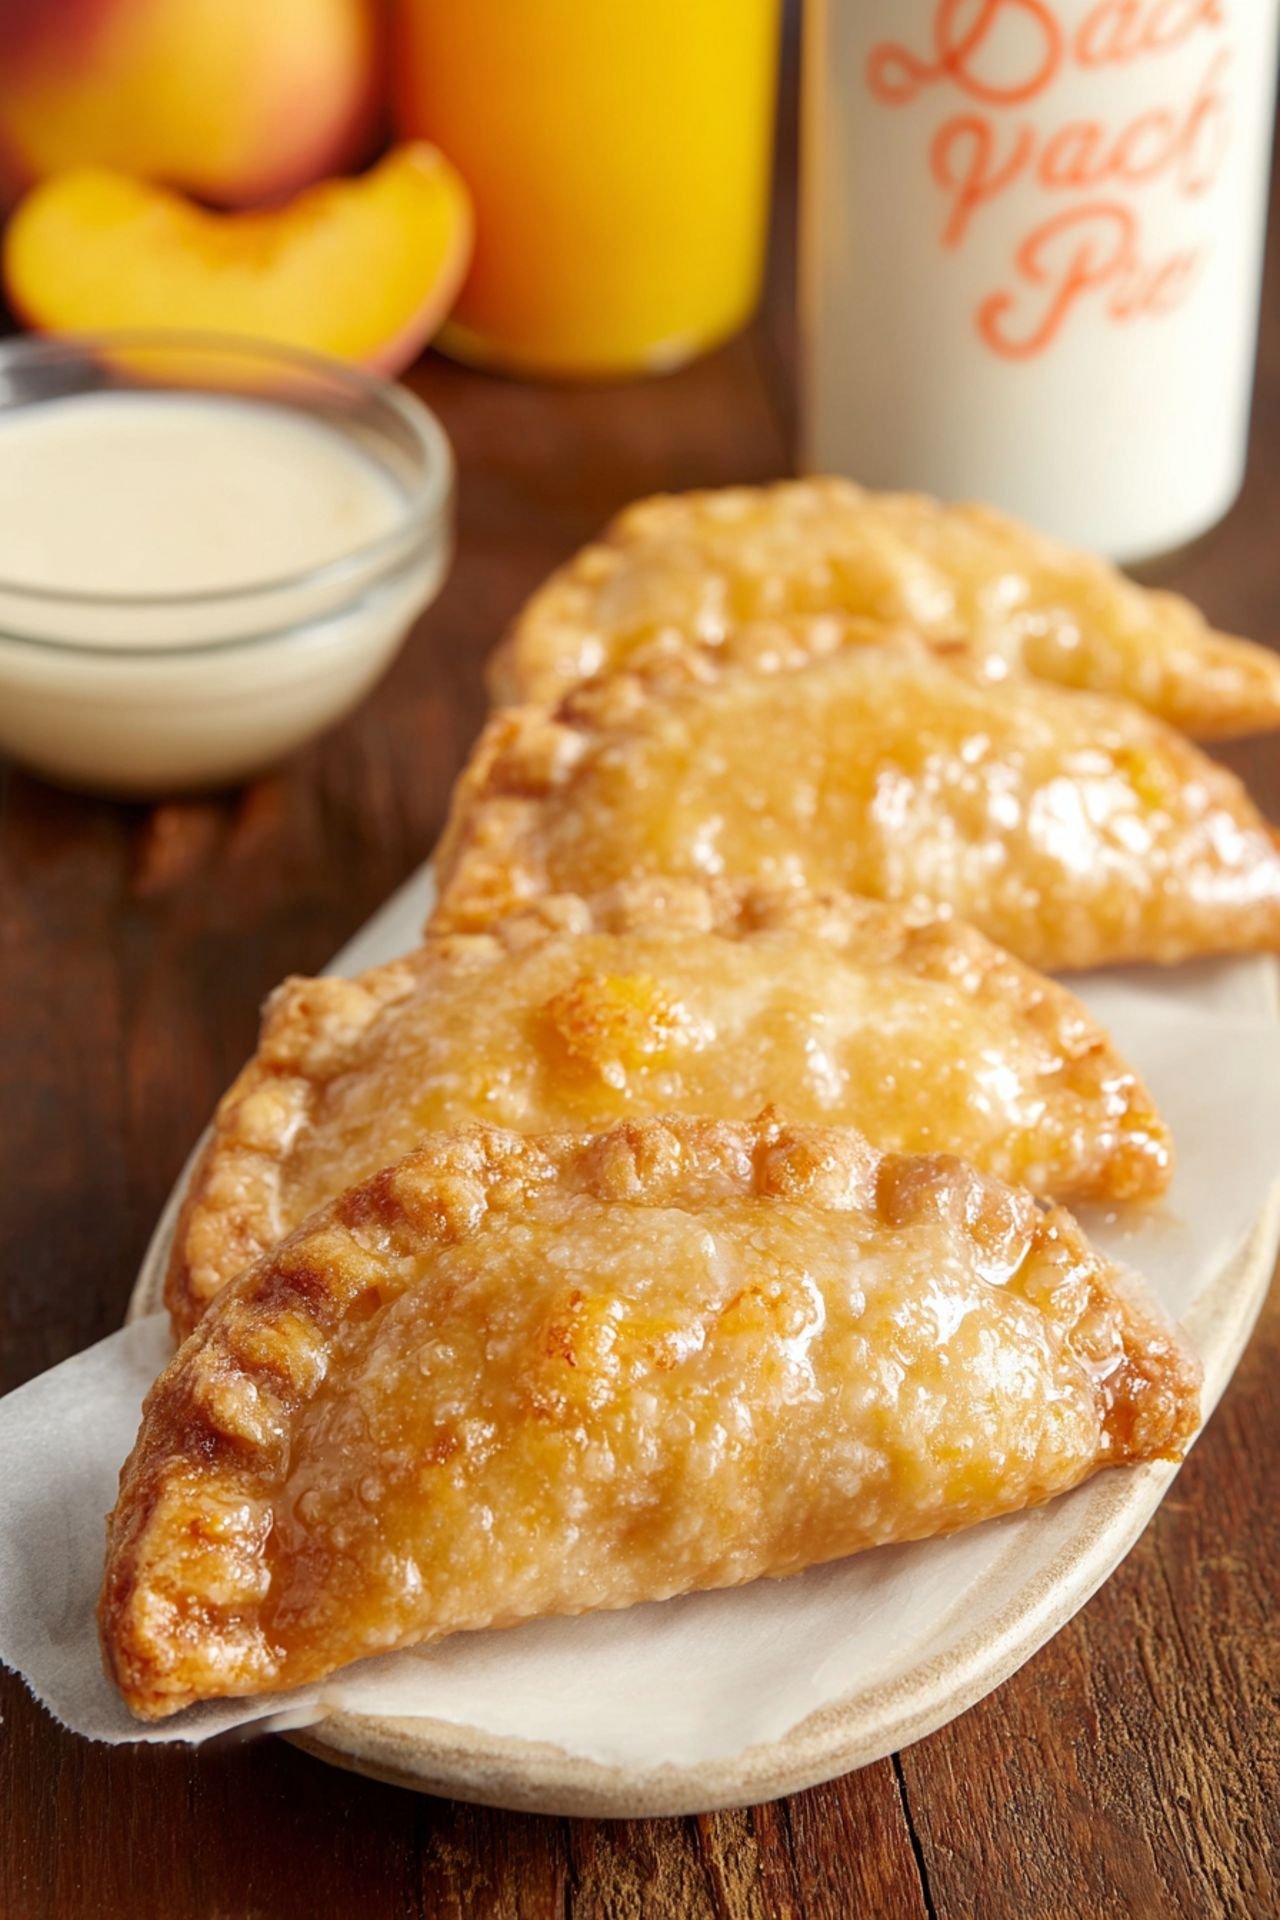
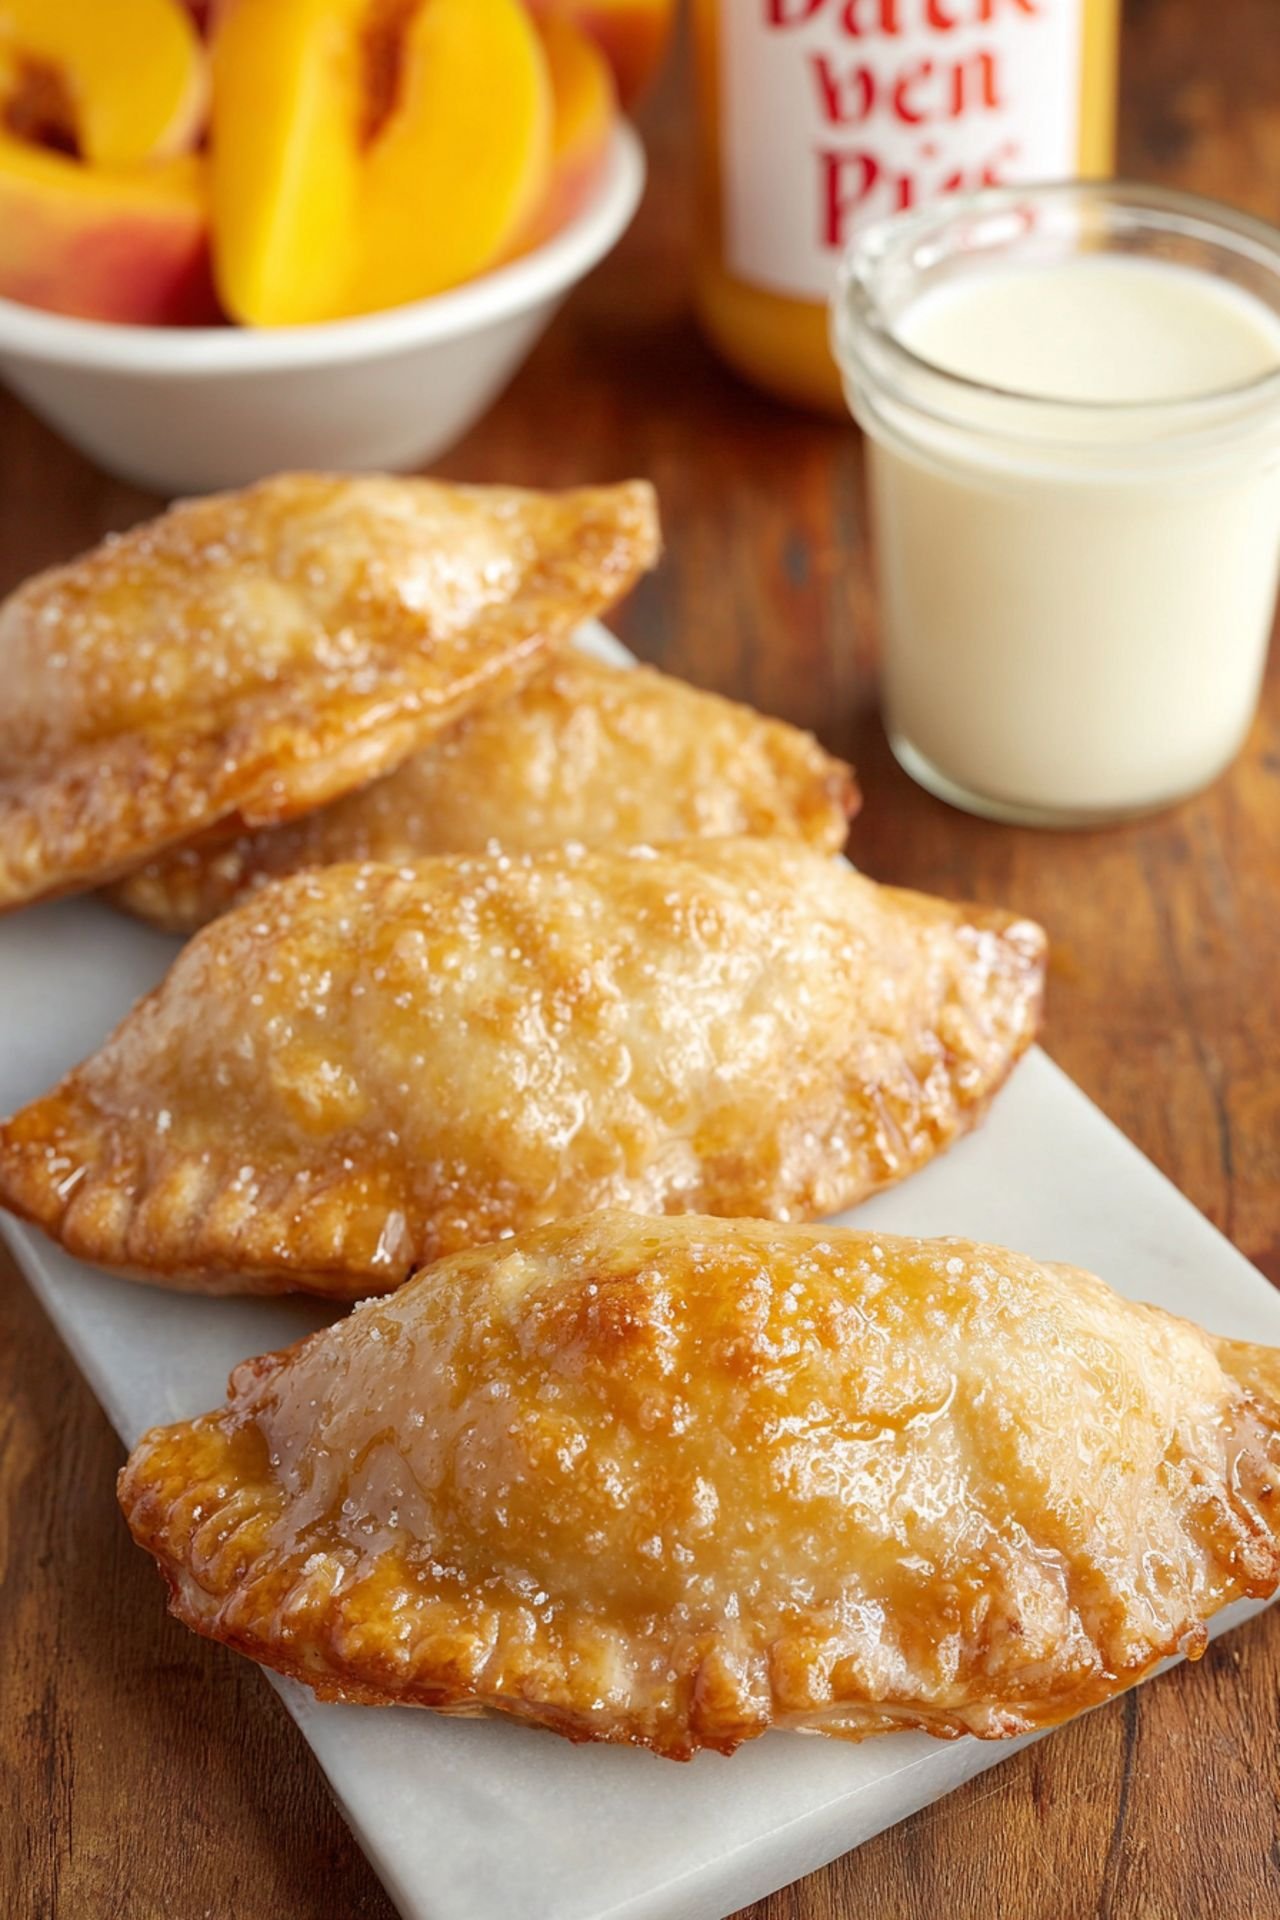
Homemade Pies Peach Hand Pies with Buttery Crust
Ingredients
- 1 package refrigerated pie crusts (2 crusts total)
- 1 ½ cups canned peach pie filling
- 1 egg, beaten (for egg wash)
- 2 tablespoons sugar (for sprinkling on top)
Instructions
- Preheat your oven to 425°F and line a baking sheet with parchment paper.
- Roll out the pie crusts and cut out circles using a round cookie cutter or glass (about 4 inches wide).
- Spoon about a tablespoon of peach pie filling into the center of each circle.
- Fold the circles in half to make a half-moon shape and press the edges with a fork to seal.
- Brush each pie with beaten egg and sprinkle with sugar.
- Place them on the baking sheet and bake for 15–17 minutes, or until golden brown.
- Cool for 5–10 minutes before serving.
10) Nutrition
Serving Size: 1 hand pie, Calories: 210, Sugar: 9 g, Sodium: 140 mg, Fat: 11 g, Saturated Fat: 4 g, Carbohydrates: 25 g, Fiber: 1 g, Protein: 3 g, Cholesterol: 20 mg
Recipe by Marsha for Healthy Living Mindset


Leave a Comment